Using Graphite and Seral Paper
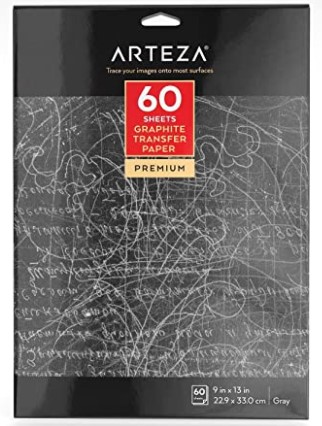
Transfer paper is an amazing tool for painters of all skill levels. They enable you to transfer/trace an image on to your paintable surface by simply placing your image over and tracing with a pencil.
Graphite paper is used just like in the old days of carbon copies. Although you do not want to use carbon to transfer as it tends to have a waxy coating which enabled it to last a long time. Graphite is erasable, but it also smudges a bit so take care when tracing and not drag your hand and arm all over your image. You will want to press hard enough to get nice crisp lines, but not to hard as you could puncture your canvas. Too soft and you will have a hard time seeing your lines. Its a good habit to check periodically through the trace to make sure it is transferring as well. Always lay your graphite paper coating side down and tape your traceable…image side up. You will want to use either painters artist low tack tape or frog tape. Make sure to tape your image in place as you do not want it moving during your tracing. Another great thing is… its reusable over and over.
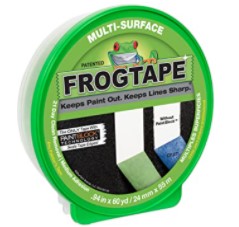
FrogTape® is a pro painter’s masking tape and the only tape treated with PaintBlock® Technology. FrogTape was designed for use with latex paints. PaintBlock reacts with the water in latex paints to form a micro-barrier along the edges of the tape. This makes FrogTape more resistant to paint bleeding.
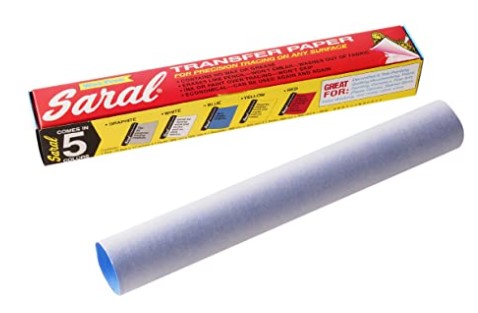
Seral Paper is equally great as it comes in a few different colors which is handy if you are transferring onto dark surfaces such as black canvases or adding to a painting. Seral paper is used just like graphite paper, except the coating is a chalky substance which wipes away with a dampened cloth or towel. Just make sure your painting is fully dry before wiping the excess chalk off. It is also reusable over and over.
Projecting an Image
Art Projectors
Ideal for projects bigger than a standard canvas size.
Wow, technology has come along way as far as affordability, but there is still some tried and true projection methods that have been around a long time. An art projector is a super handy tool for all skill leveled artists. They enable you to enlarge and transfer smaller images to a much larger surface.
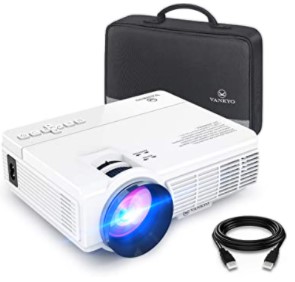
Digital projectors are now super convenient and affordable. Most people think of them when they think of home theatre set ups. Now days projectors come with a wide variety of specifications, but if your looking solely for art projection… this may be your thing. Transferring simple images does not require high levels of clarity and you can probably get away with spending (around $100), just make sure you purchase one with LEDs rather than bulbs. LEDs last far longer than bulbs and require less maintenance.
LEDs are also incredibly bright compared to bulbs. You will still want to dim the lights a little, but you are not going to need complete darkness to see the image. Most of these projectors are very lightweight and portable, and some come in the size of your phone.
Whatever your choice in projector is, just keep in mind affordability versus function. Most artist quality projectors are not going to give you a home theatre quality movie experience.
That being said, I actually purchased a projector from Amazon for this purpose. It works great for making images larger, but it also is great for kids sleepover movie nights, and I have taken it camping and had a kids movie night in the woods (plugged into an inverter and also generator projected on a large piece of plywood.) But that is also me, getting the most bang for my buck.
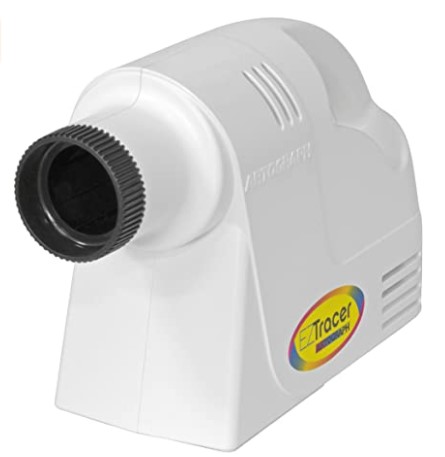
Opaque Projectors are not digital, they are more aimed at using a light source, along with a combination of prisms or mirrors and a focus lens to reflect or enlarged an image onto a surface. This means instead of reflecting a digital image, you are going to be using a physical copy of a drawing or sketch. Its a good way to manually enlarge your own drawings, although your images will need to be on a smaller scale (5 to 7 sq. inches.) You will need ample space to be able to move machine farther away for a larger image. As with the projector, this means the surface your are projecting on will be vertical, probably a canvas or wall leveled vertically. This will take a bit of time to align your surface just right, as not to have any distortion of the image. You will have to make sure once you are in your tracing mode, that nothing bumps or moves projector, as lining it up again could prove impossible. Opaque Projectors also use bulbs, which will require your working space to be quite dark. Opaque projectors range in price from $40 to $400, so they are an affordable option to the digital counterparts. I have purchased the standard Artograph EZ Tracer Projector, while I have yet to find its use in my everyday art adventures, I am not sad I invested in one just yet. I did use a 50% off coupon from the local art supply store, So I don’t feel as guilty for it sitting on the shelf this entire time.
The Artograph EZ Tracer Art Projector costs around $40, beginner friendly. Its very lightweight and portable, but can only enlarge 2 to 5 times original size.
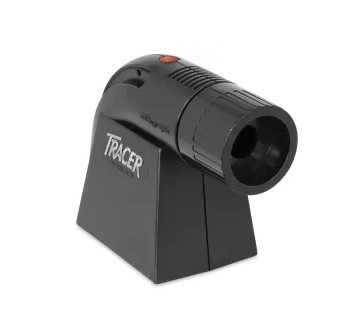
Artograph Tracer Projector is a step up from the EZ model. It costs around $100 and can enlarge to 14 times the original size, but the image source needs to stay around 5 sq. inches.
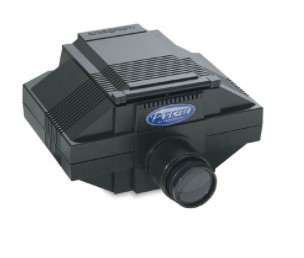
Artograph Prism Art Projector gets you about 20 times the original size with a much brighter bulb, but also jumps to around $250. There are also options for upgrading the lens for better focus and clarity.

