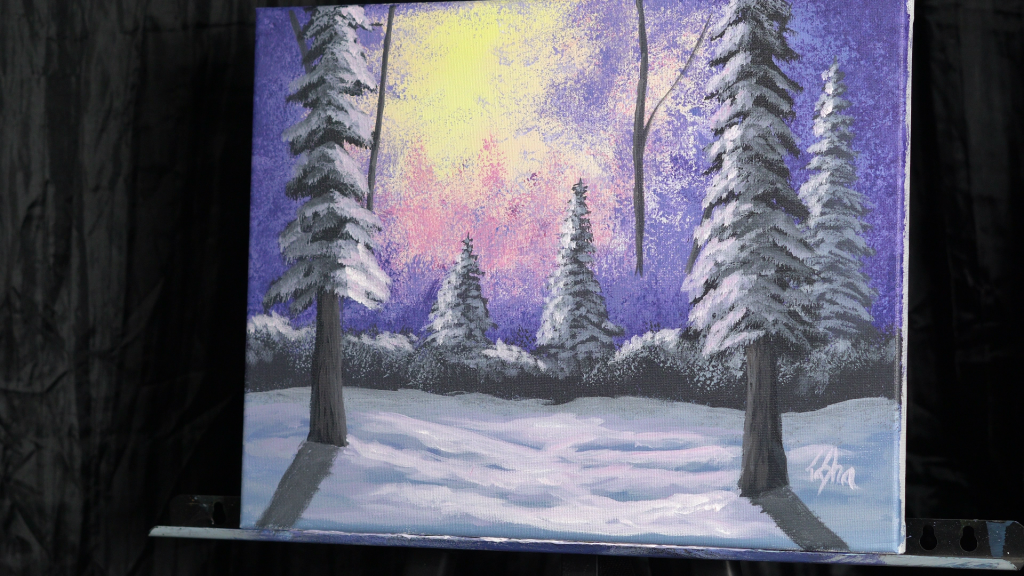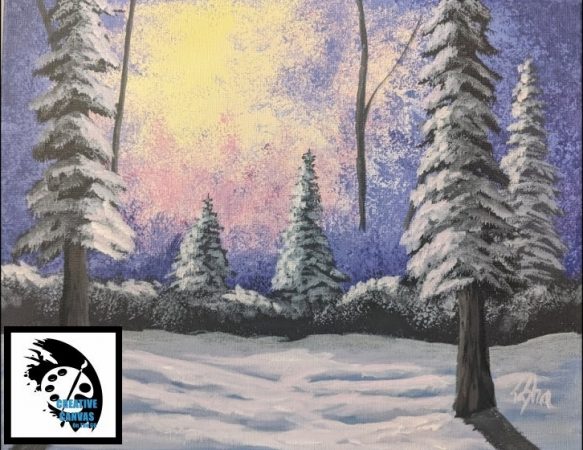
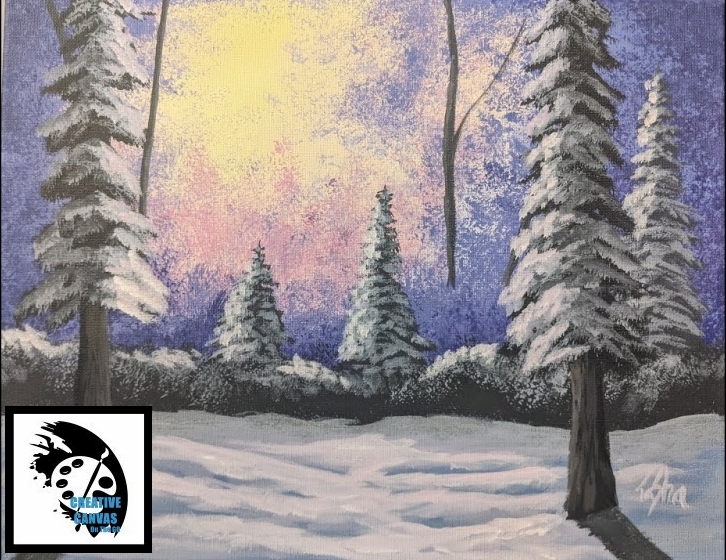
Purple Haze is a beginner friendly winter landscape painting tutorial. Using pastel colors to create the light source, and a sea sponge for almost all of the foliage, the result is loose and soft. These techniques can be used in just about any landscape painting.
The step by step acrylic painting tutorial video is a little over an hour, however it may take you more time to complete. There is also a written step by step guide below, and you’re welcome to print the materials list as well.
Happy Painting!!
Purple Haze – Supplies
Canvas: 11 x 14
Approx Time: 1.5 hours
Level: 2 (Easy/Moderate)
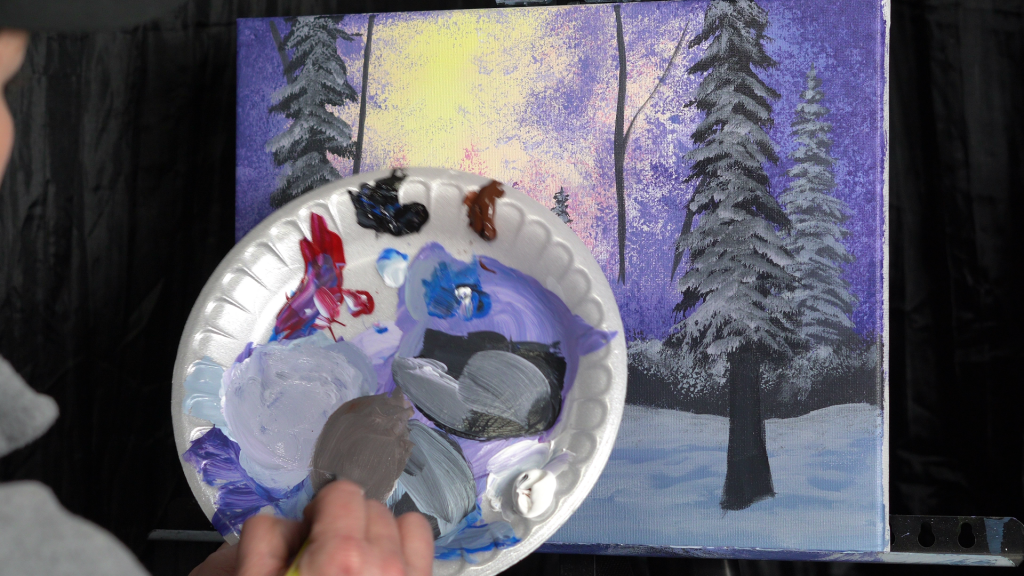
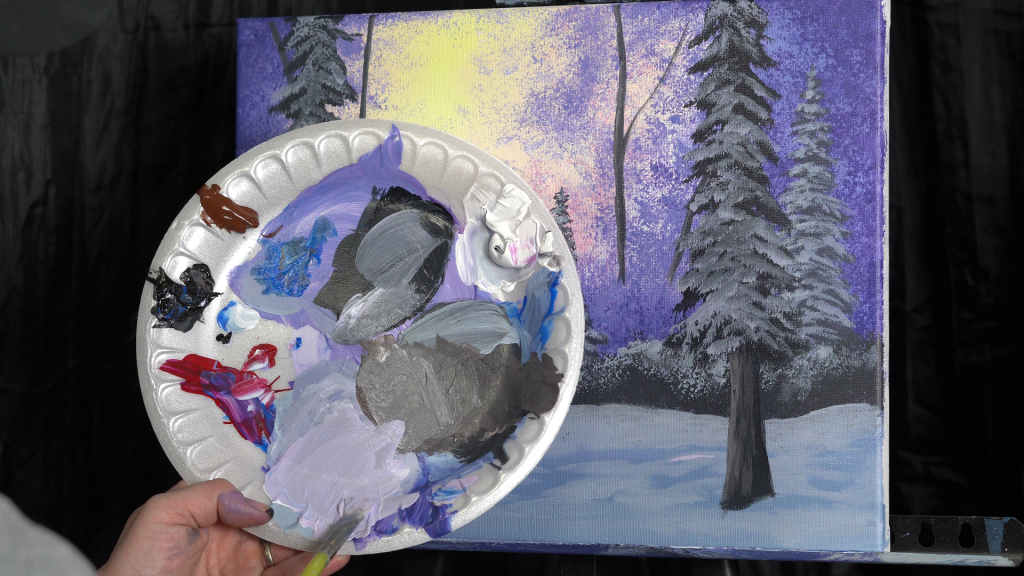
Materials
– 11x 14 Canvas
– Water for rinsing
– Paper towels
– Paper plate/palette
– White chalk
Brushes
– 1 inch Flat
– 1/2 inch Flat
– 1/4 inch Flat
– Detail Brush
– Sea Sponge
Paints
– Titanium White
– Mars Black
– Cad Yellow Med
– Bright Red
– Cobalt Blue
– Burnt Sienna
Instructions
Step by Step- Winter Landscape Painting Tutorial
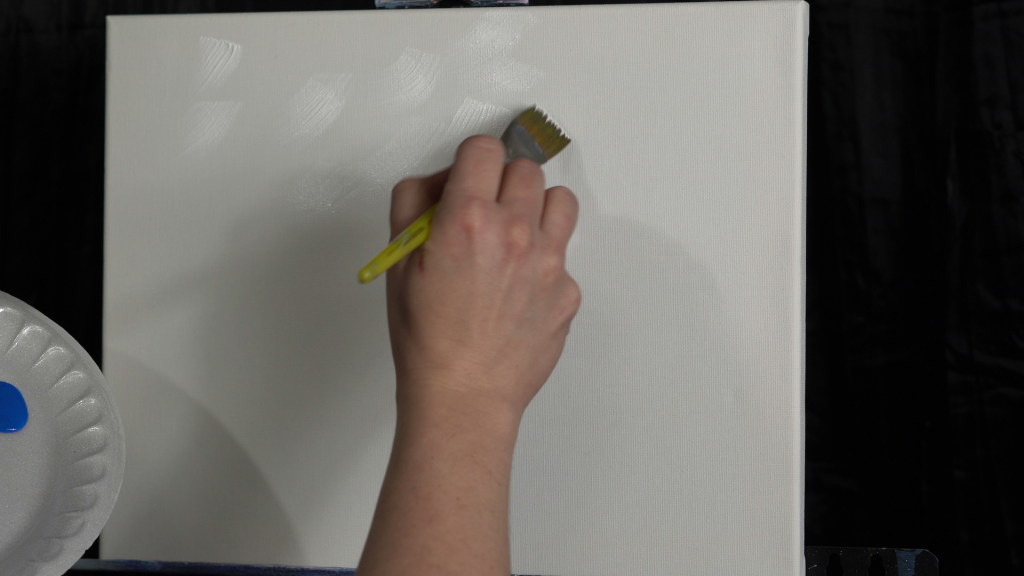
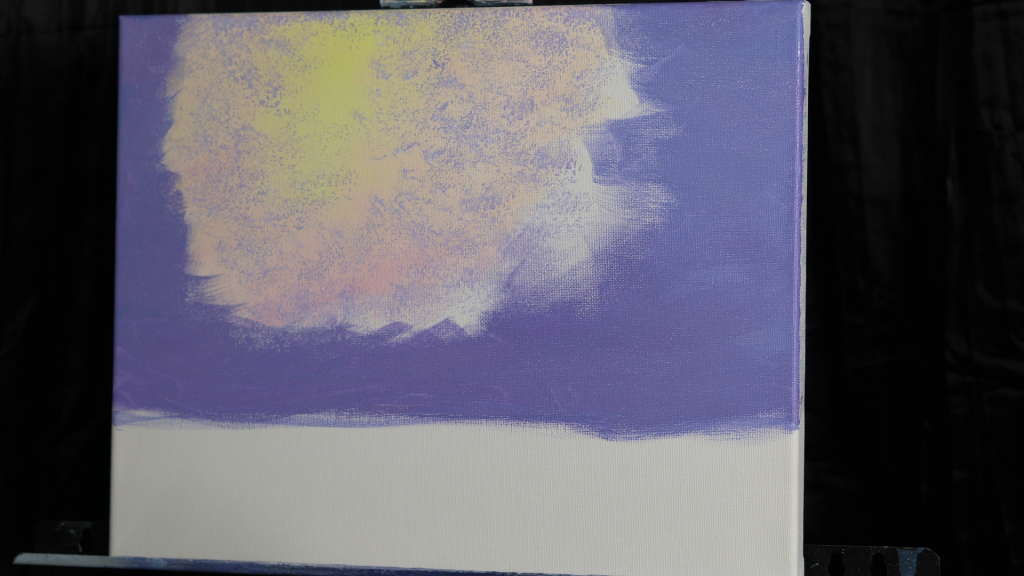
Step 1: Creating your light source.
Using your brush, dab on titanium white randomly across the sky. This will allow your yellows and pinks to blend better.
Mix a light pastel yellow using the titanium white and cad yellow medium. Brush it on in the center of your light source.
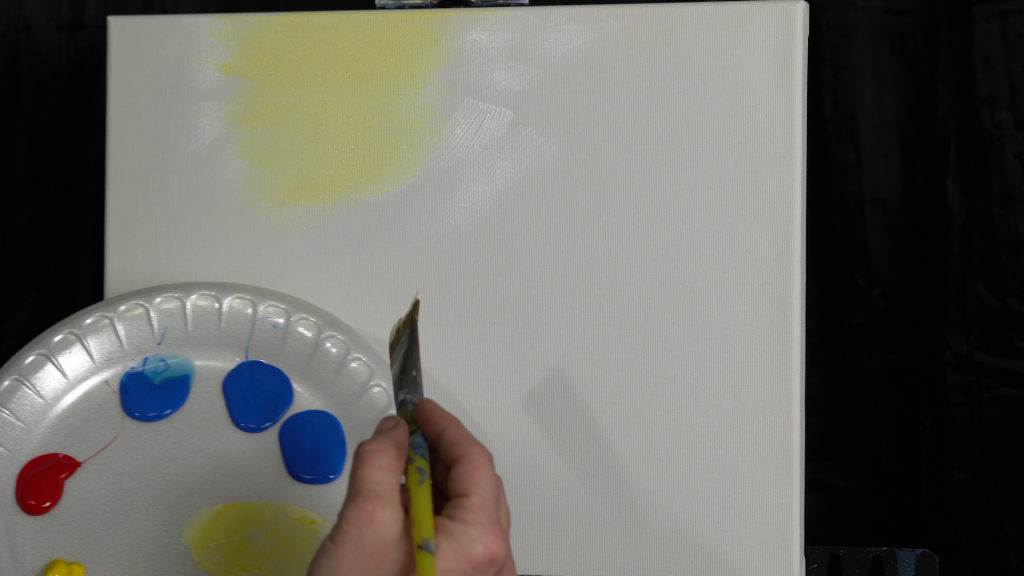
Mix a light pastel yellow using the titanium white and cad yellow medium. Brush it on in the center of your light source.

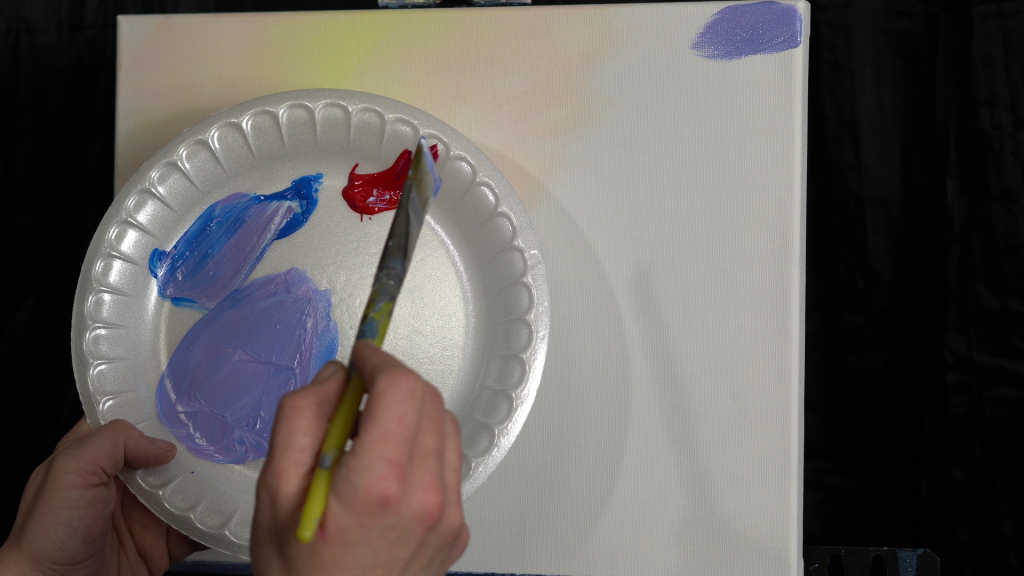
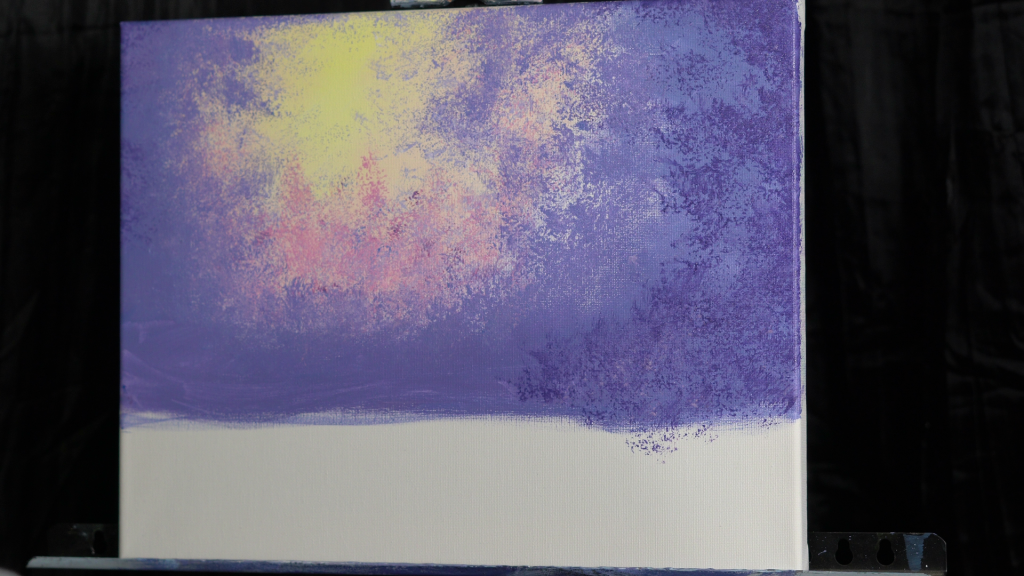
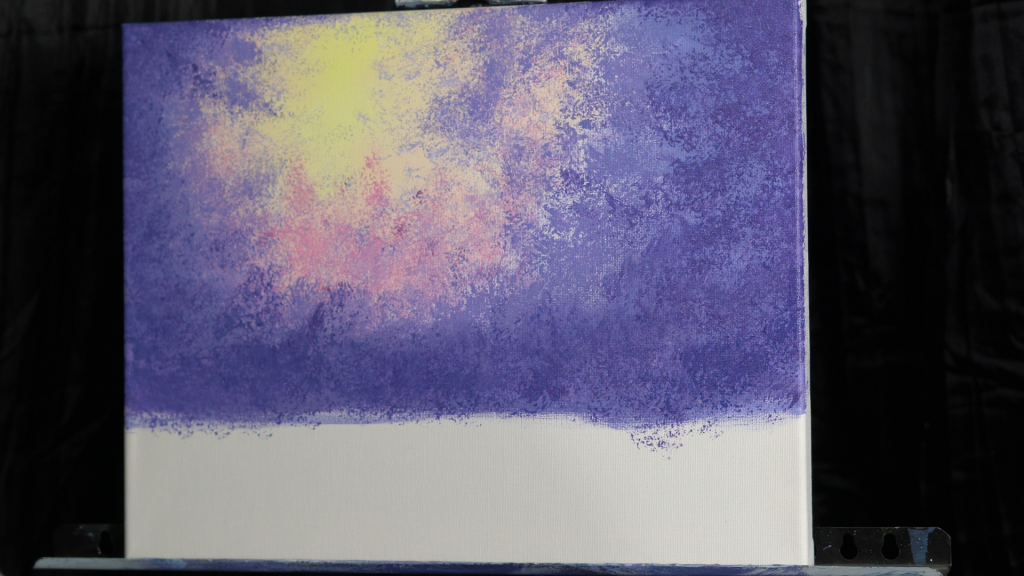
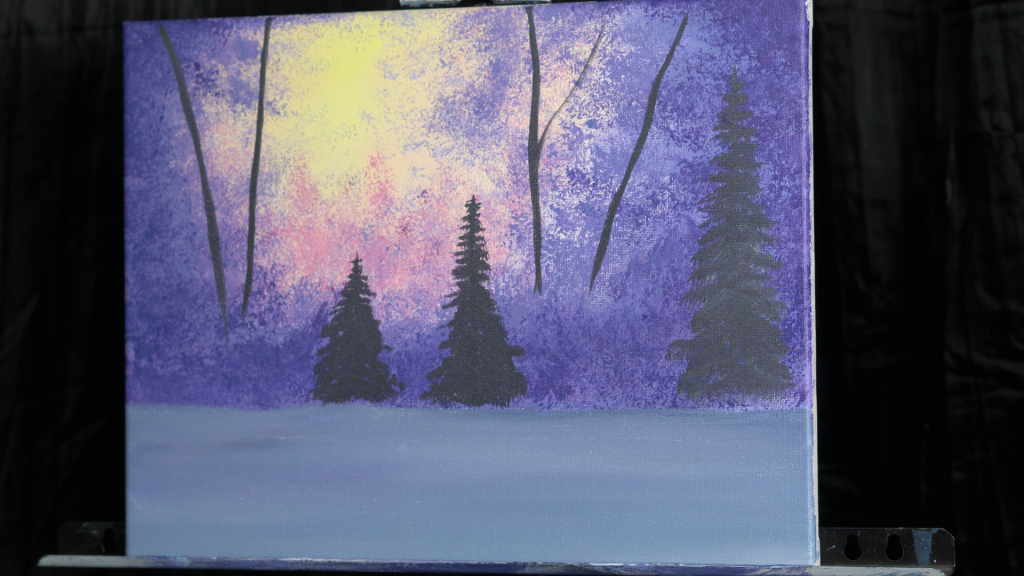
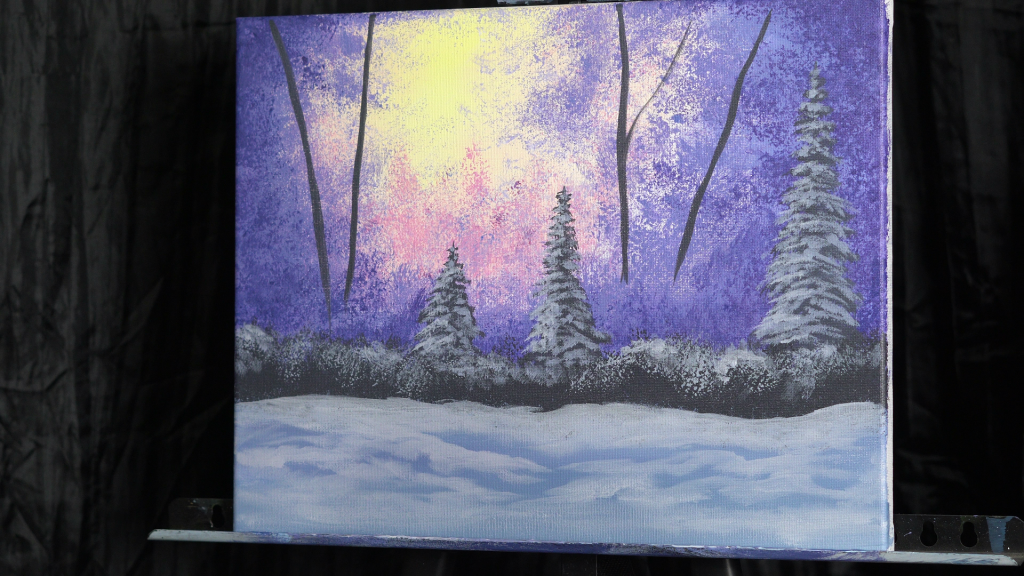
Step 2: Creating your base foliage.
Using white, blue, and red, mix a medium tone purple. Using your brush, surround the outside of your light source with this color.
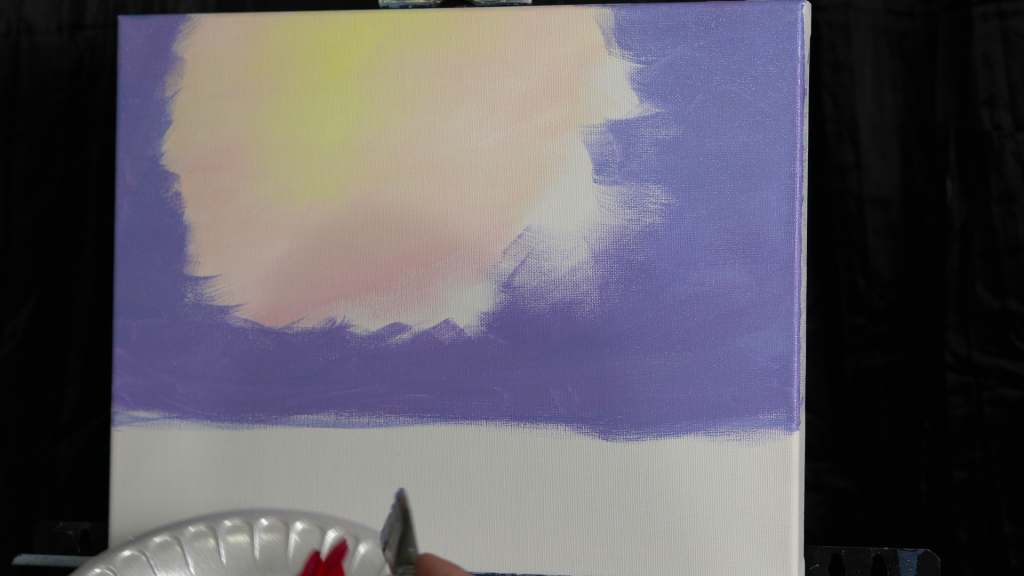
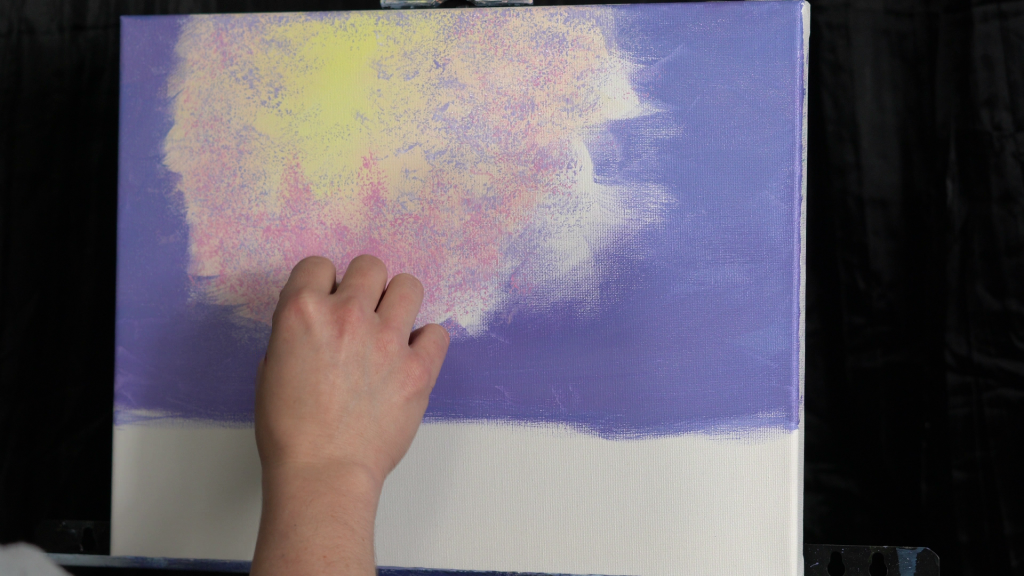
Step 3: Distant foliage
Next, mix a lighter purple. Use the sea sponge to create distant foliage.
Try not to completely cover your light source, just a little bit.
Next mix a mid tone pink, using red, white, and a touch of the blue. Add this to your distant foliage.
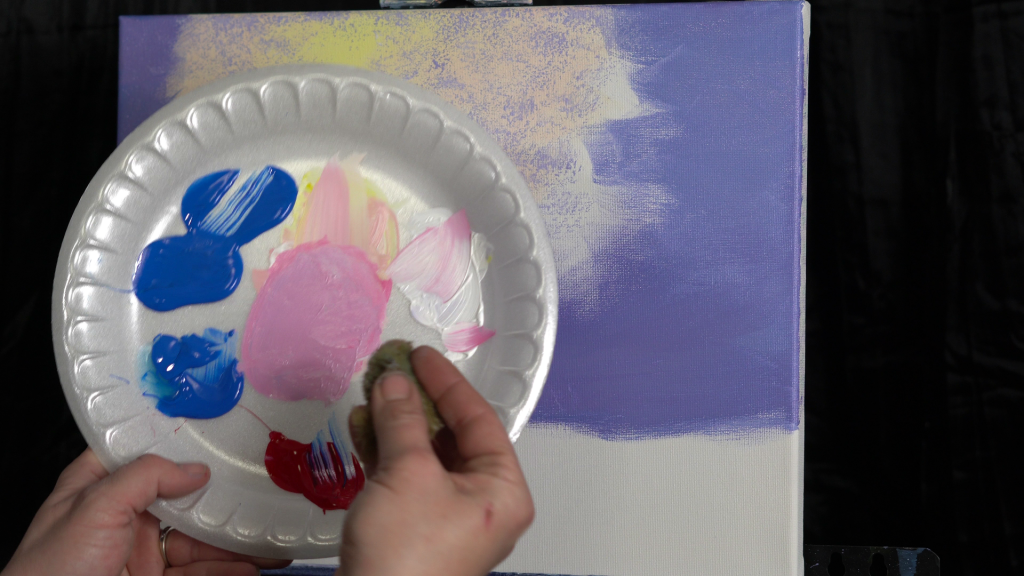
Also create the idea of some distant pine trees.
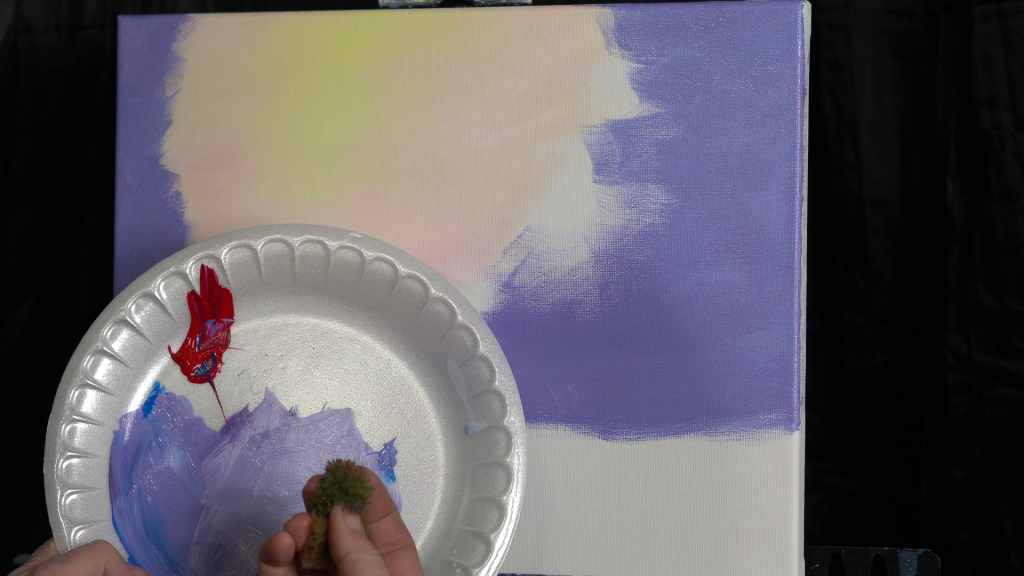
Step 4: Creating closer foliage.
Mix the same mid tone purple we used earlier in step 2.
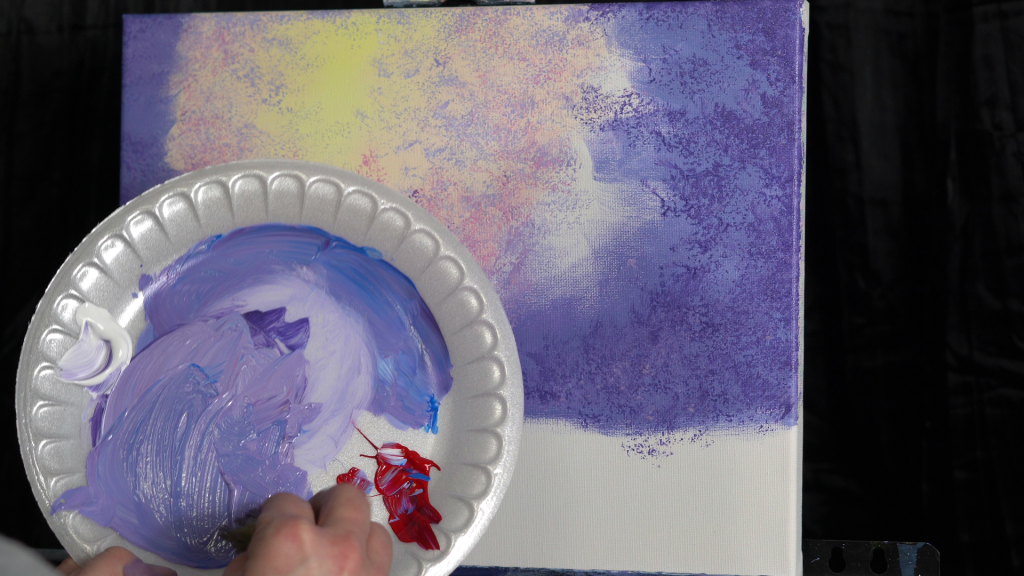
Using the sea sponge, create the foliage right on the edges of your base foliage from step 2.
Next mix a darker purple, by adding more blue and red. Add the shadow foliage.
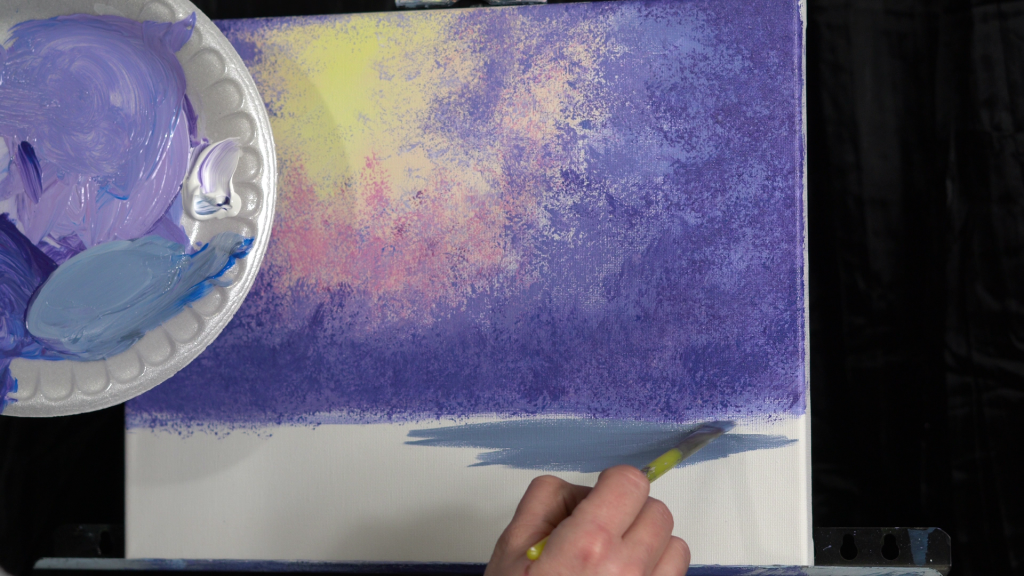
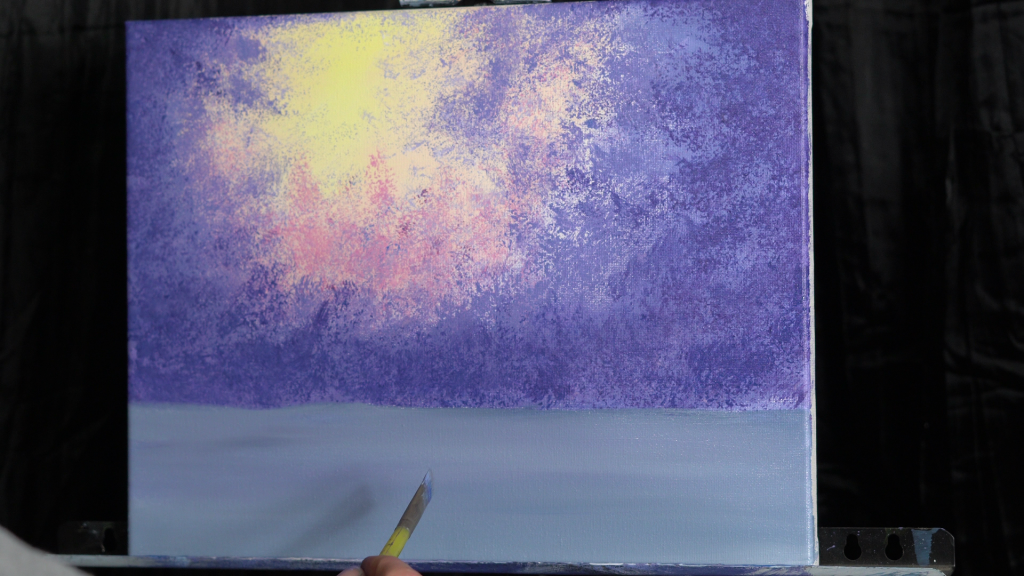
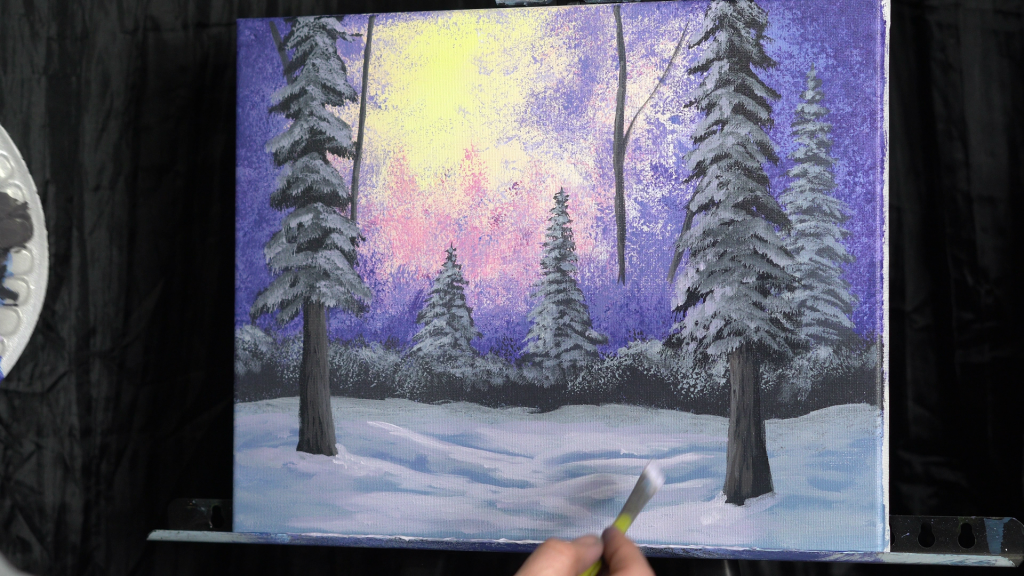
Step 5: Creating the foreground snow.
Mix a mid tone, blue grey, by using white, blue, and a touch of black. Fill in the foreground snow.
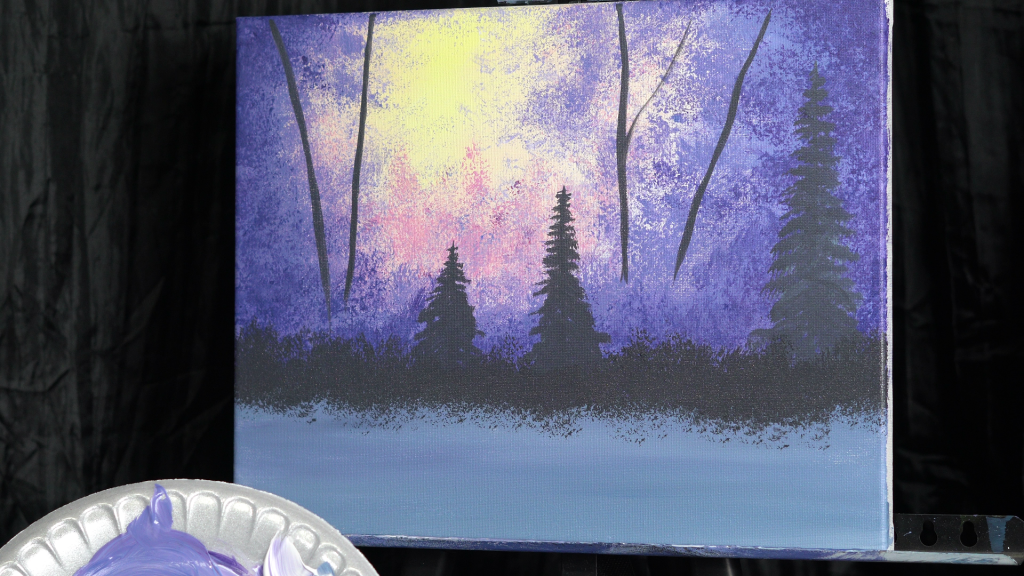
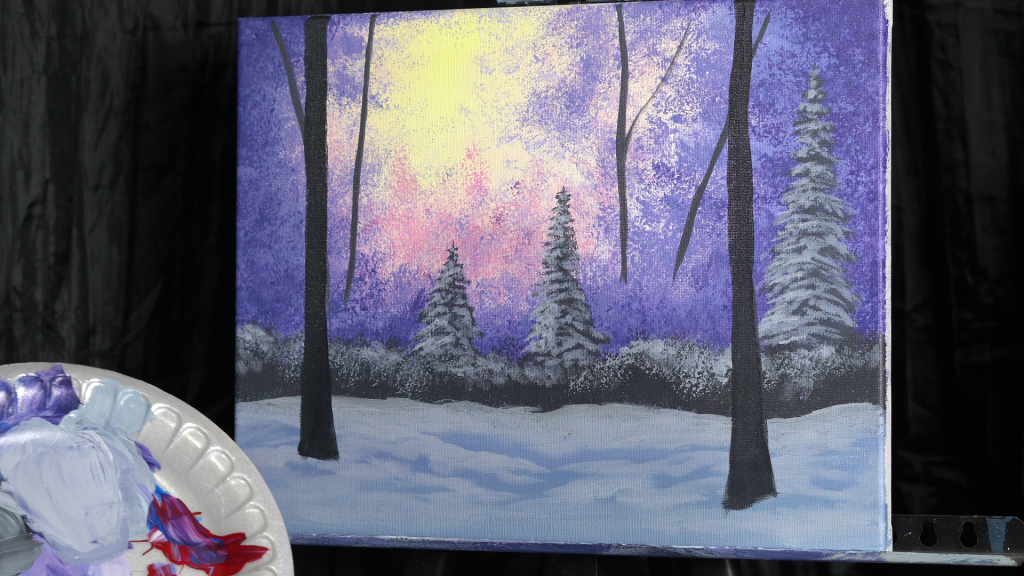
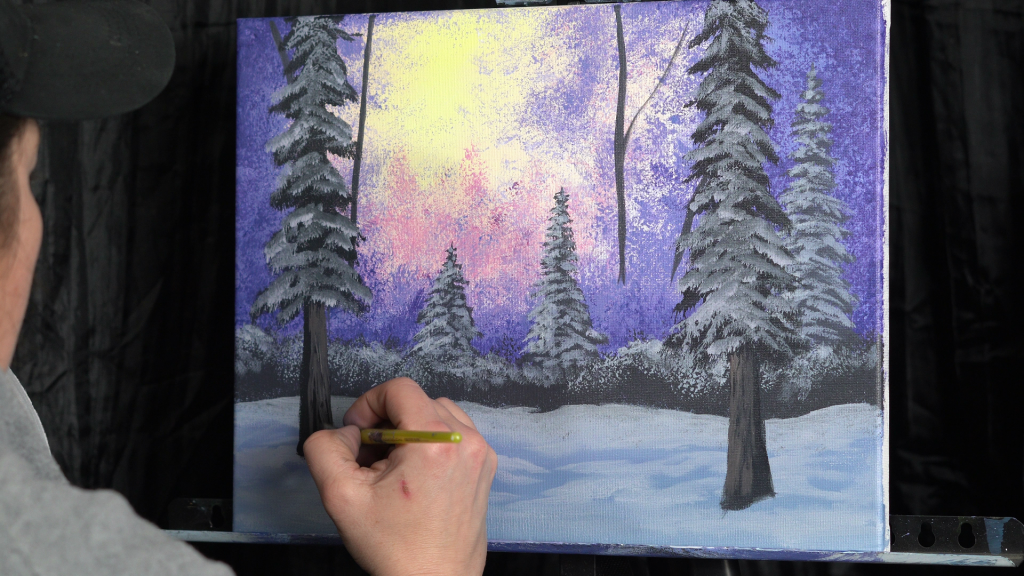
Step 6: Creating distant trees.
Mix a dark blue grey, using black, blue, and a touch of white. Switch to a smaller flat or detail brush to create the tree trunks.
Using the same dark blue grey, create foliage/bushes in front of your pine trees.
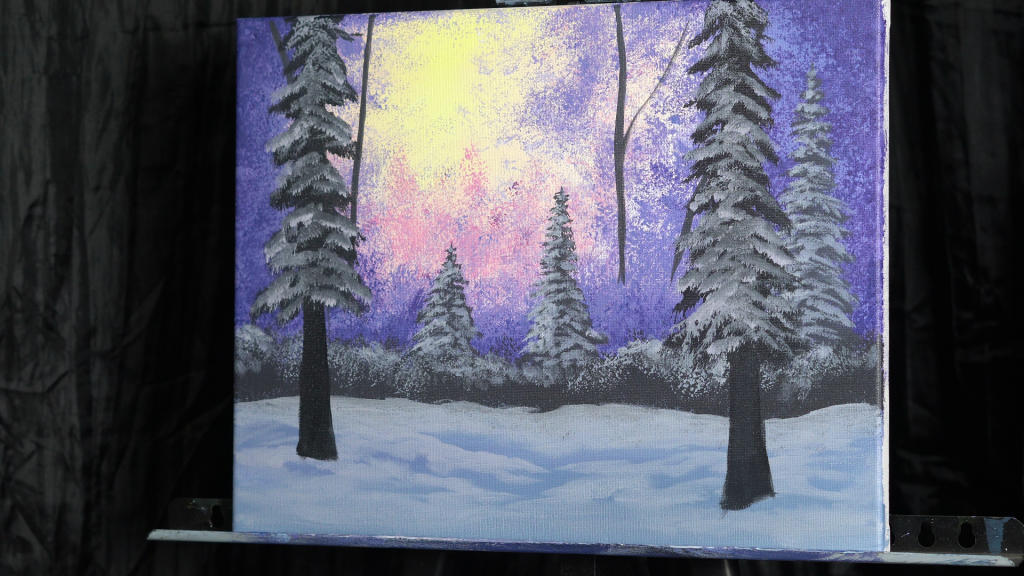
Step 7: Adding the 1st layer of snow.
Next mix a light blue grey, using white, a touch of blue, and a touch of black.
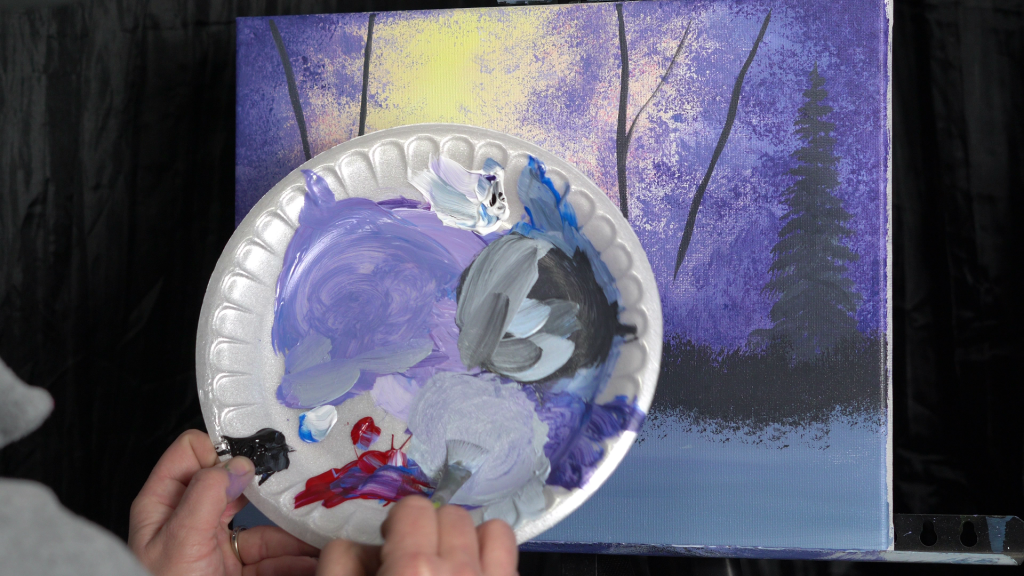
Using either the 1/2 inch or 1/4 inch flat, dab on the 1st layer of snow to your pine trees.
Add a layer of snow to the bushes using your sea sponge.

Switch back to 1/2 inch flat and add the 1st layer of snow to your foreground snow.
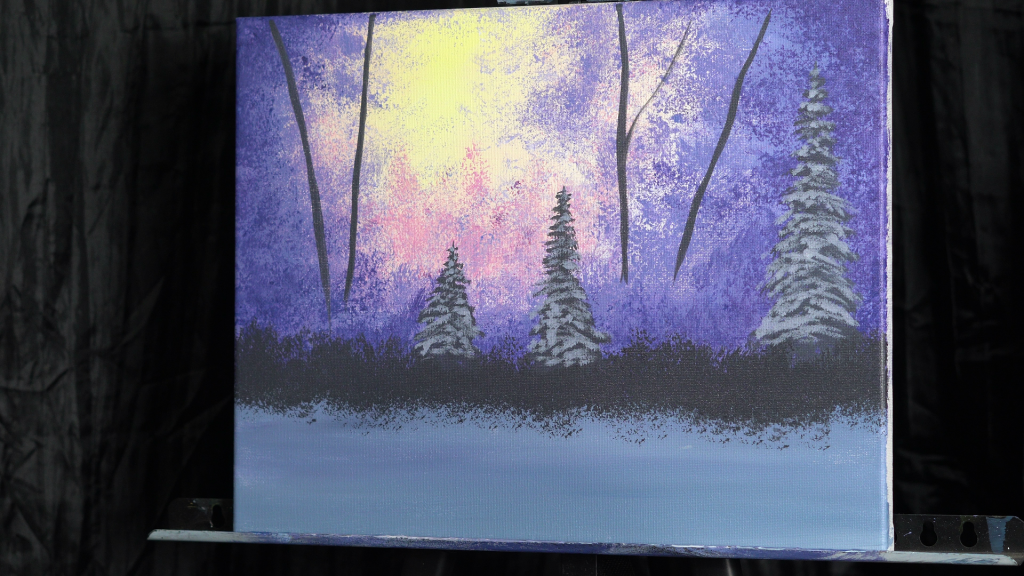
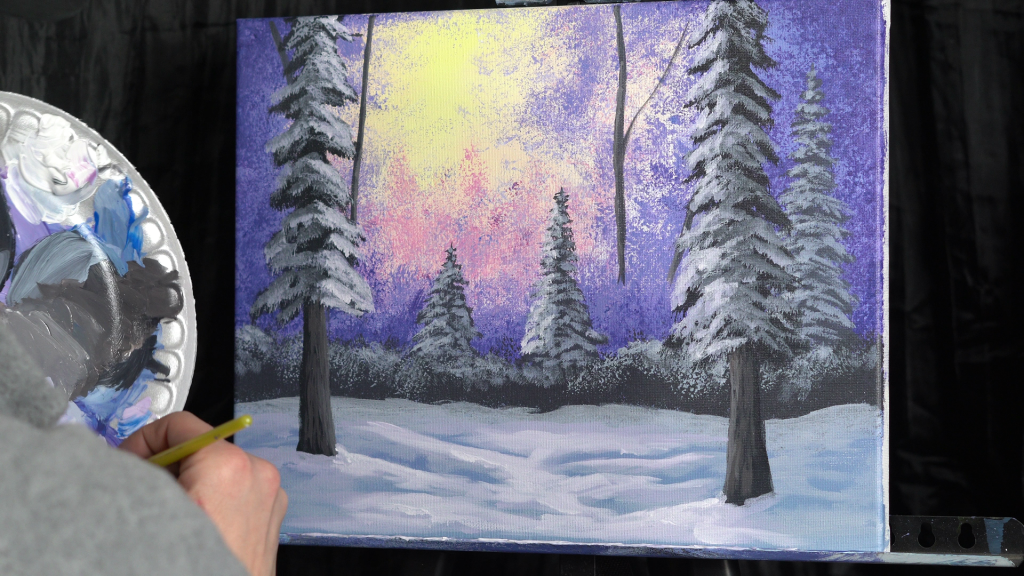
Step 8: Adding foreground trees.
Mix a darker blue grey. A touch darker than the grey your created in step 6. Using your 1/2 inch, add a tree to each side.
Add pine bows.
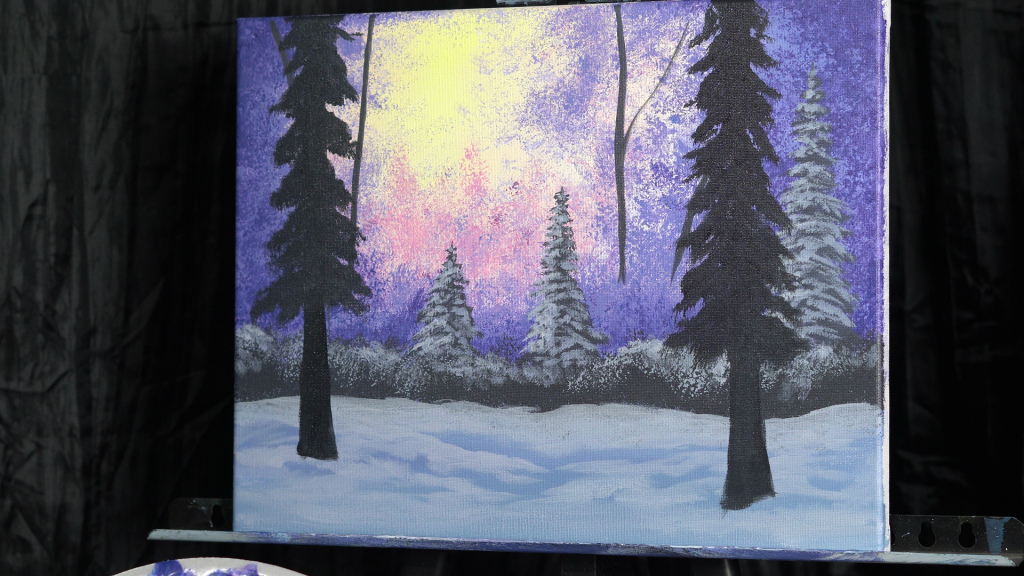
Next add the same 1st layer of snow that you used in Step 7.
Step 9: Adding highlights to your tree trunks
Mix a mid tone grey with white and black, then add a touch of burnt sienna, creating a light brown.
Using your 1/2 inch flat or 1/4 inch flat, whatever you’re comfortable with, add in some light brown highlights to your tree trunks.
Don’t forget to add highlights to your distant tree trunks too.
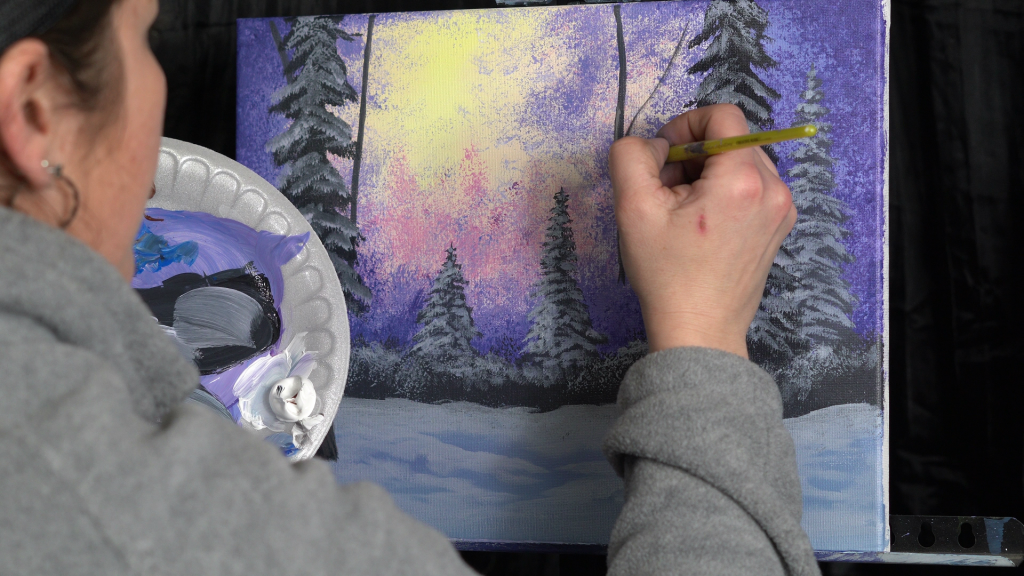
Step 10: Adding more snow highlights
Mix another light blue grey, lighter than your 1st layer of snow. Add a touch of red to it.
Using this new highlight color, add another layer of snow to the foreground snow.

Try not to cover all of your previous highlight, just add a touch more to the edges.
Add a touch more white for another layer, this time add it to your pine trees as well, but only to one side, the side where your light source is coming from.
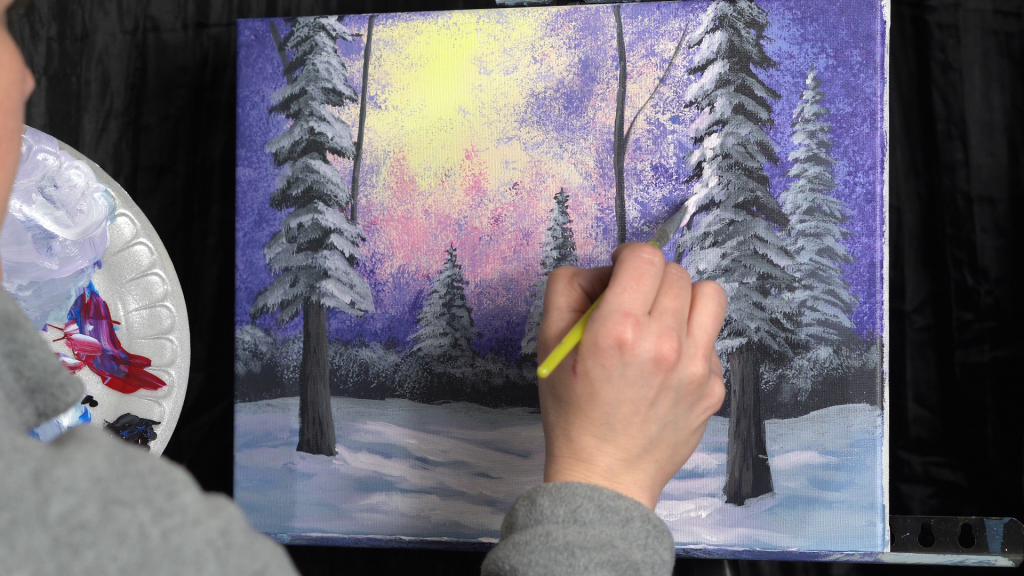
Step 11: Adding shadows for the trees.
Mix a mid tone blue grey, using white, black, and a little blue. It needs to be lighter than the darkest part of the tree trunks.
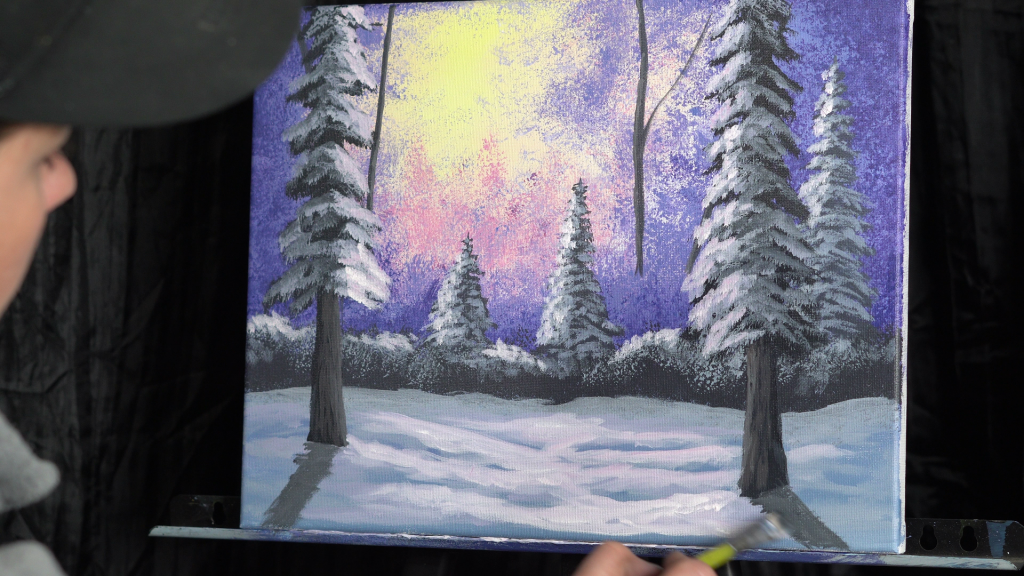
Add angled shadows that flow off of the canvas.
That’s it! Don’t forget to sign your name!!!