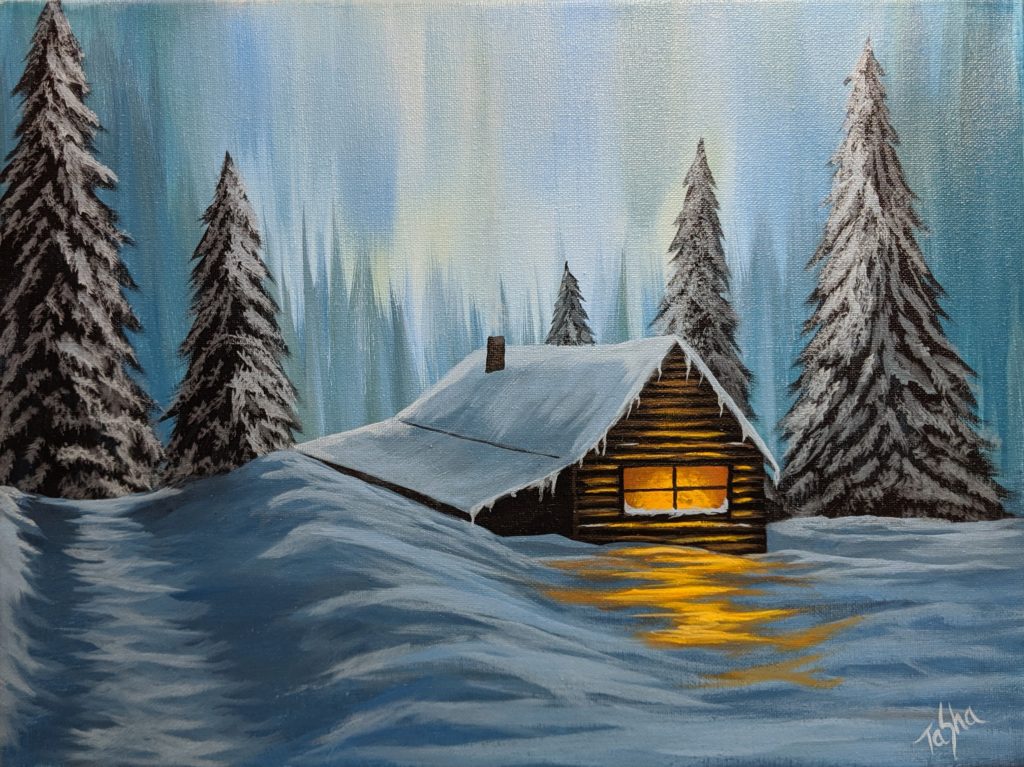
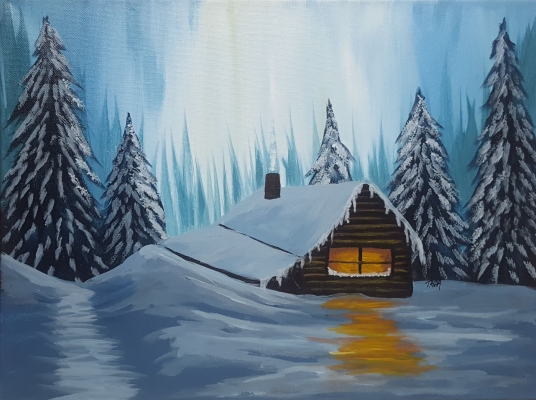
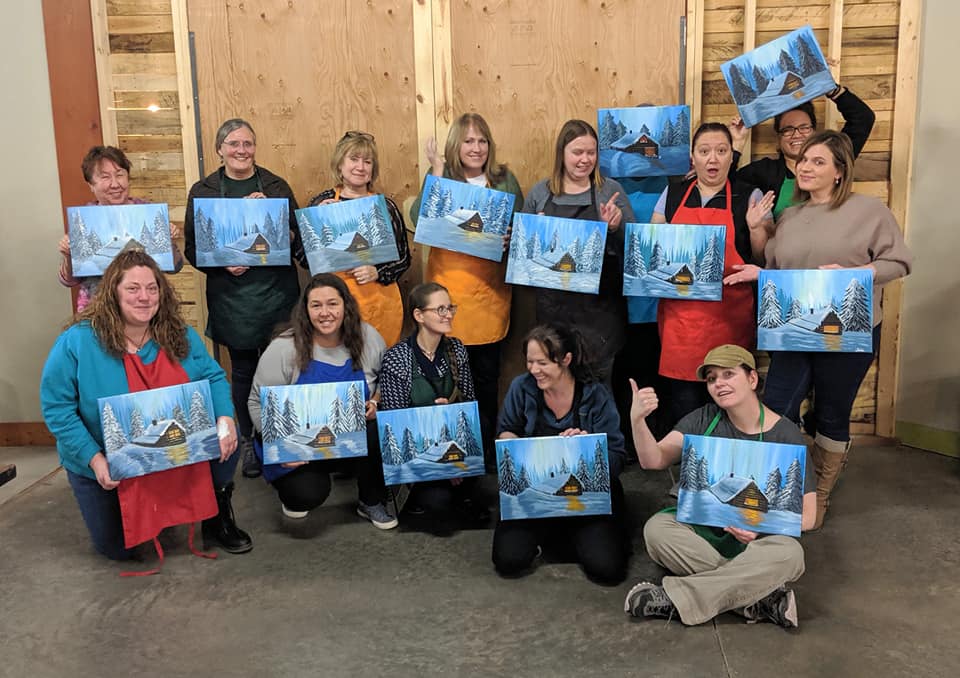
Snowy Cabin is probably a Level 3 painting. It is a bit more challenging with lots of layers, but definitely a fun one. We have yet to do a video tutorial on this one, but we will! We have done it live at a Pop-Up Painting Party, and it was an absolute hit, even for beginners!
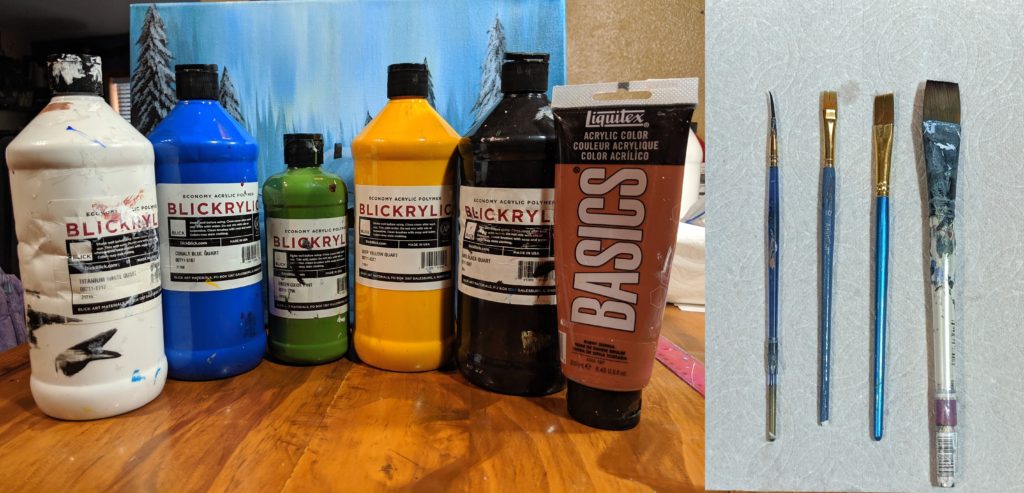
Materials List:
Canvas: 12 x 16, Horizontal
Paint: Cobalt Blue, Titanium White, Green Oxide, Mars Black, Deep Yellow, Burnt Sienna
Brushes: 1 in or 3/4 in Flat Brush, ½ in Flat Brush, ¼ in Flat Brush, and Detail Brush
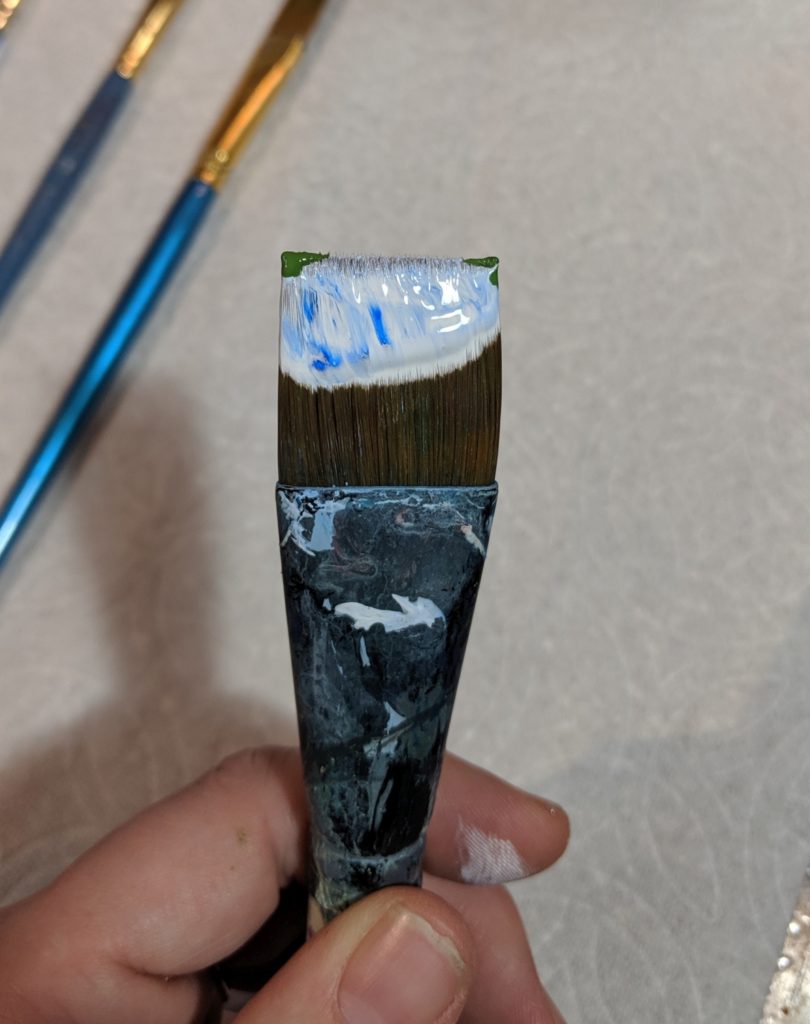
Background:
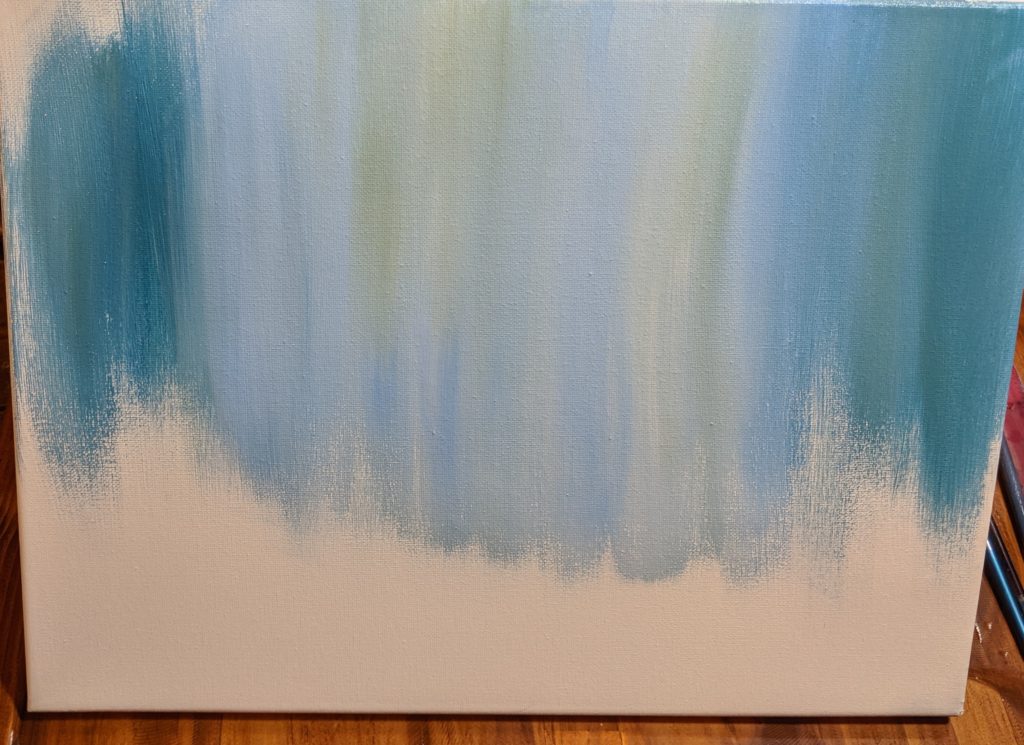
Using the big flat brush mix a very light blue, by adding just a touch of blue to your white. Load your brush with light blue, then on each corner of the flat brush barely dip it into the green.
Once your brush is loaded start in the center of the canvas at the top with vertical strokes up and down. Take it all the way down towards the center of the canvas. As you move to the outsides of the canvas, continue adding blue and green to get darker shades of turquoise and aqua colors.
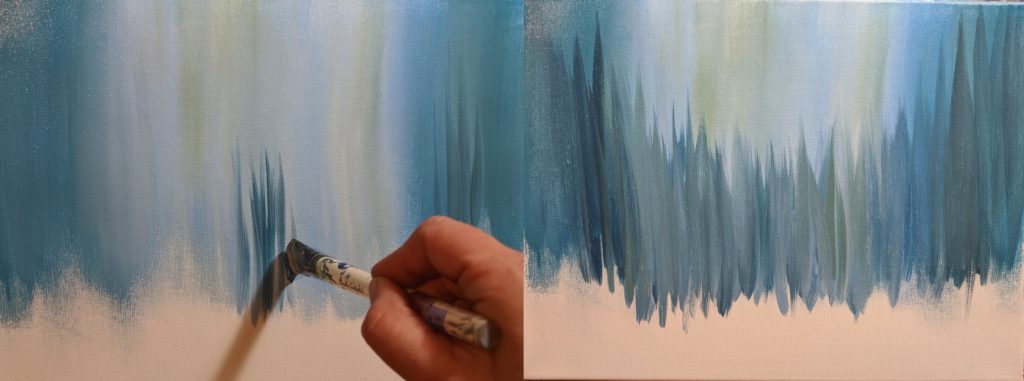
Next, rinse your big flat brush. Now mix the blue with the green to get a dark turquoise. Starting on the outsides of your canvas with your flat brush turned vertically brush up words strokes to create trees in the background. As you move towards the center, the trees should dip down, like a half circle or wide U. Continue adding little bits of white to create lighter colored trees.
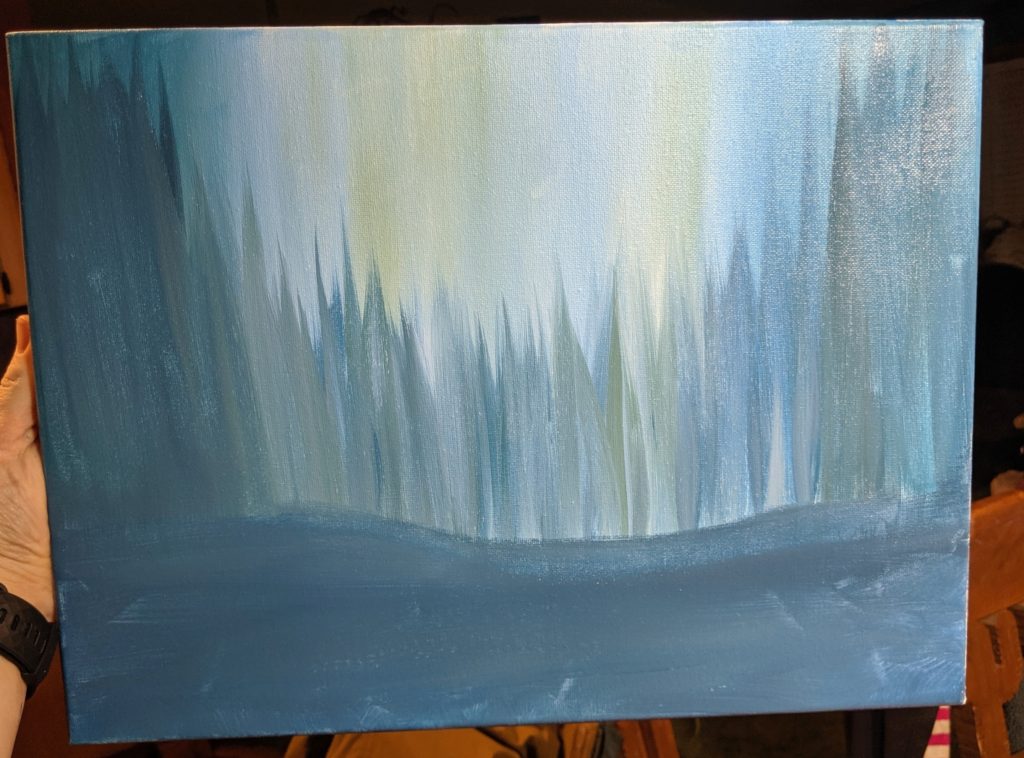
Next mix a dark blue/gray color to fill in the lower part of the canvas. This will be your shadowed snow. Mix two parts blue, one part black, and a touch of white.
Now switch brushes. Using the medium flat (½ inch flat), mix black with blue to get a very dark, almost black color. Paint in your tree trunks first so you have an idea of where they’re going to be, then fill them in.
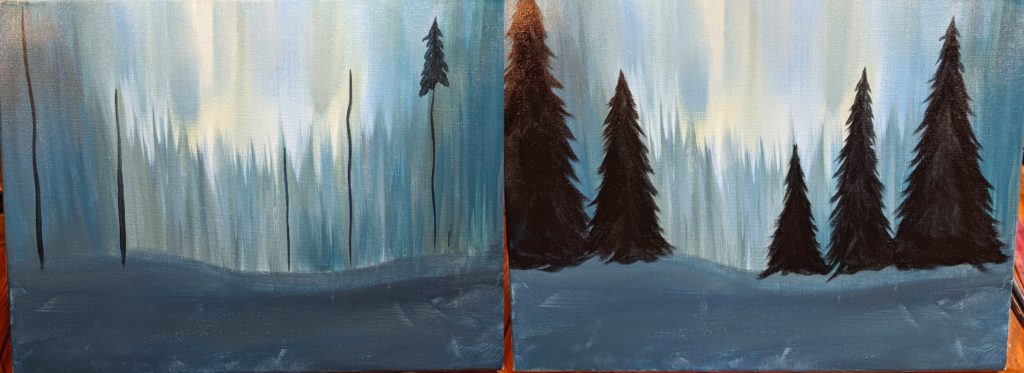
Next create more shadowed snow, with one part blue, one part white, and a touch of black. Use this to create your first layer of snow on the trees. Next add a bunch more white and a touch more blue to create your last highlight on your trees. Add this highlight to the sides of the trees that are touched by light.
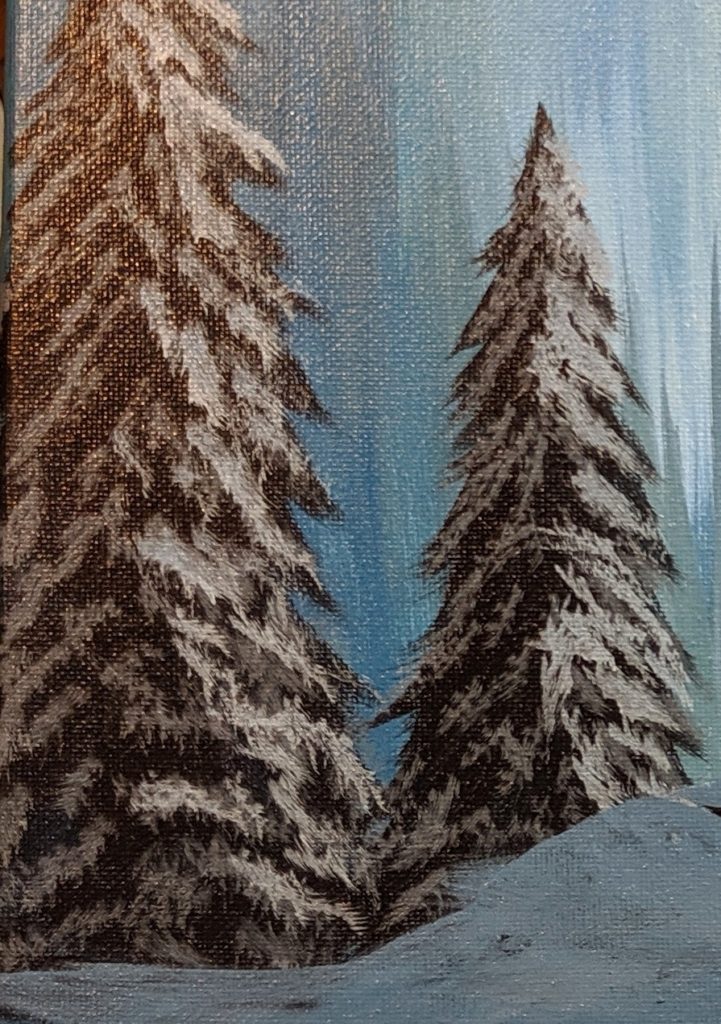
Dry break!
Using the template and white transfer paper draw in your cabin.
Now, switch to the ¼ inch flat brush, paint the entire front of the cabin and under the side roof black. Also, gently paint in the line between roofs. Next, rinse your brush thoroughly, mix blue with white and a touch of black to create your shadowed snow on the roof. Fill that in. Using that dark shadows snow also start creating layers of snow in front of the cabin.
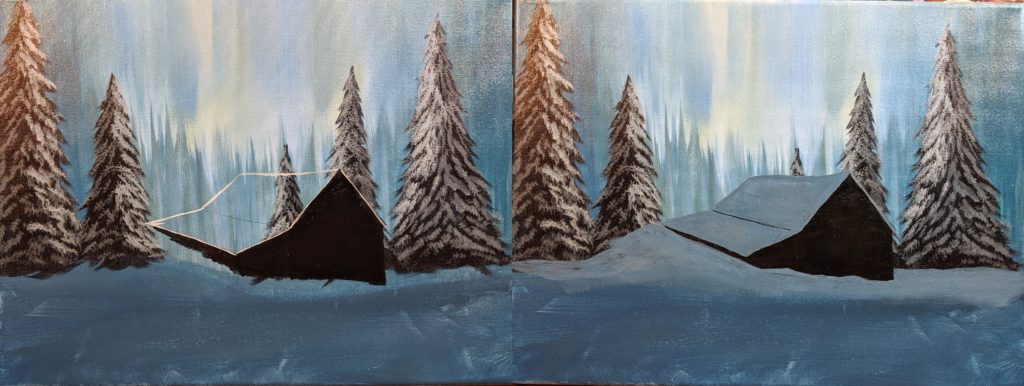
Add burnt sienna, and deep yellow to your palette.
Using the ¼ inch Flat, mix a dark brown using burnt sienna and black. Paint in your logs on the front of your cabin. Make sure you leave a little bit of black in between each log. Now add a touch of white to your mixture and create highlights on the logs.
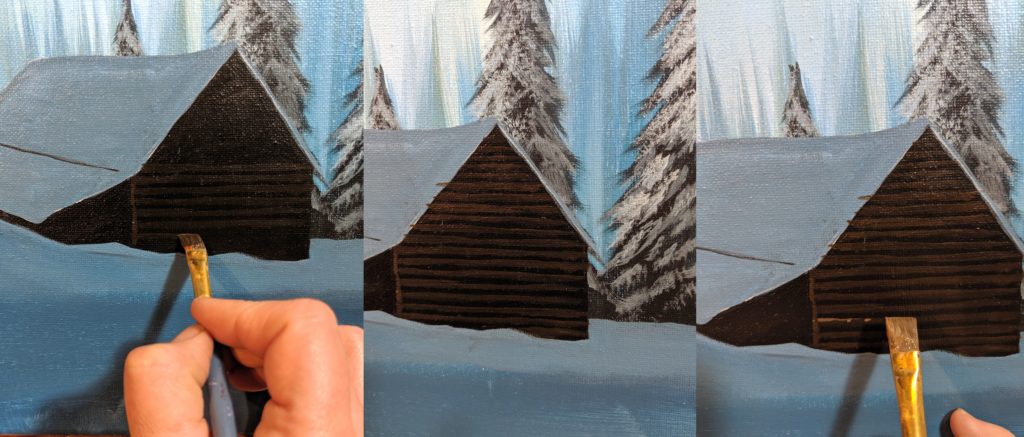
Rinse your brush, now mix burnt sienna with a touch of white. Paint in your window.
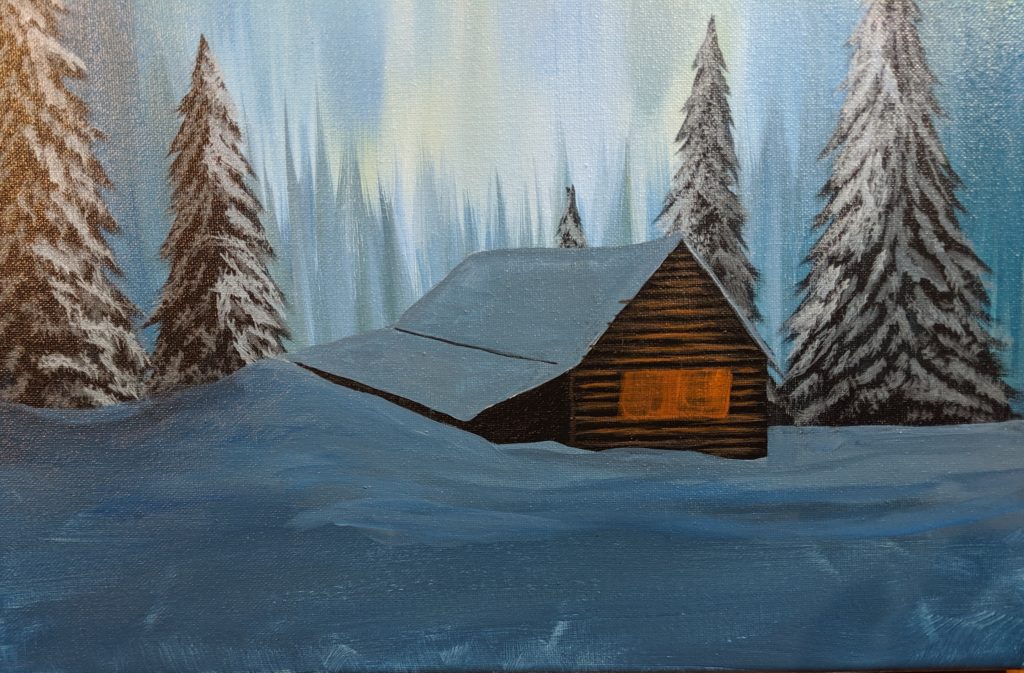
Next, using the small flat, create a highlighted snow, that is a touch lighter than the shadowed snow on the roof. Add highlights to your cabin roof and ground in front of the cabin, including the road. Try to leave some of the darker shadow colors on each side of the road. Add a touch more white and blue for another highlight. Next grab a lot of white for your final highlights on the roof. Rinse your brush, now using the same color you used for the window, burnt sienna with a touch of white, create highlights on the logs around your window, and on the snow under the window. Rinse your small medium flat brush thoroughly and dry on the paper towel, set aside. (will use later dry)
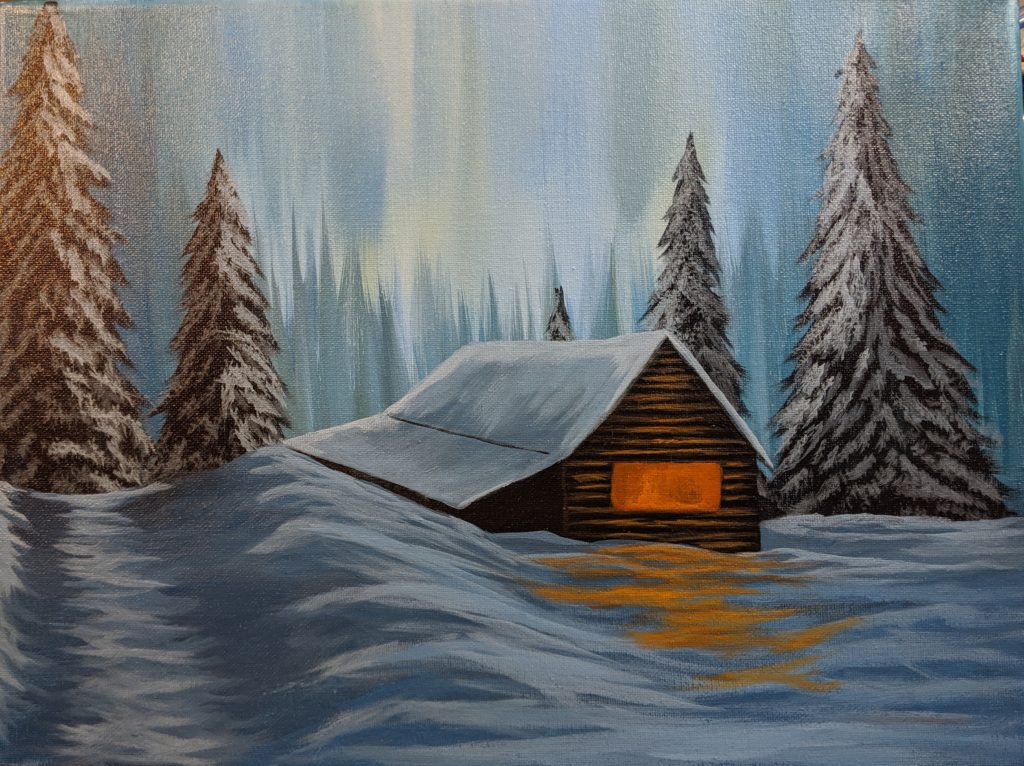
Next, using you detail brush, mix deep yellow with a touch of burnt sienna and a touch of white, create a warm glow in the window. It’s more like a half circle inside of the rectangle. Now using your dry brush from earlier gently brush around the edges of that half circle till it blends into the previous background. using the detail brush in that same color, add more highlights to the snow and to the logs around the window. Now rinse your detail brush, and grab straight deep yellow and add it to the inside of your half circle to create more glow. Don’t overwork your brush, keep it somewhat thick and limit your brush strokes. Also add just a touch of this highlight to the logs surrounding the window and the snow in front of the window.
Next using your small detail brush, paint in the frame around your window with black. Now paint in your chimney. Add a touch of burnt sienna to your black and add highlights to your chimney. Rinse your brush thoroughly.
If you have any snow color left on your palette, using the detail brush add a touch of snow to the bottom of your window sill, and also add dangling ice and snow from your cabin roof. For the final step rinse your detail brush and grab straight black, create the cross inside of your window.
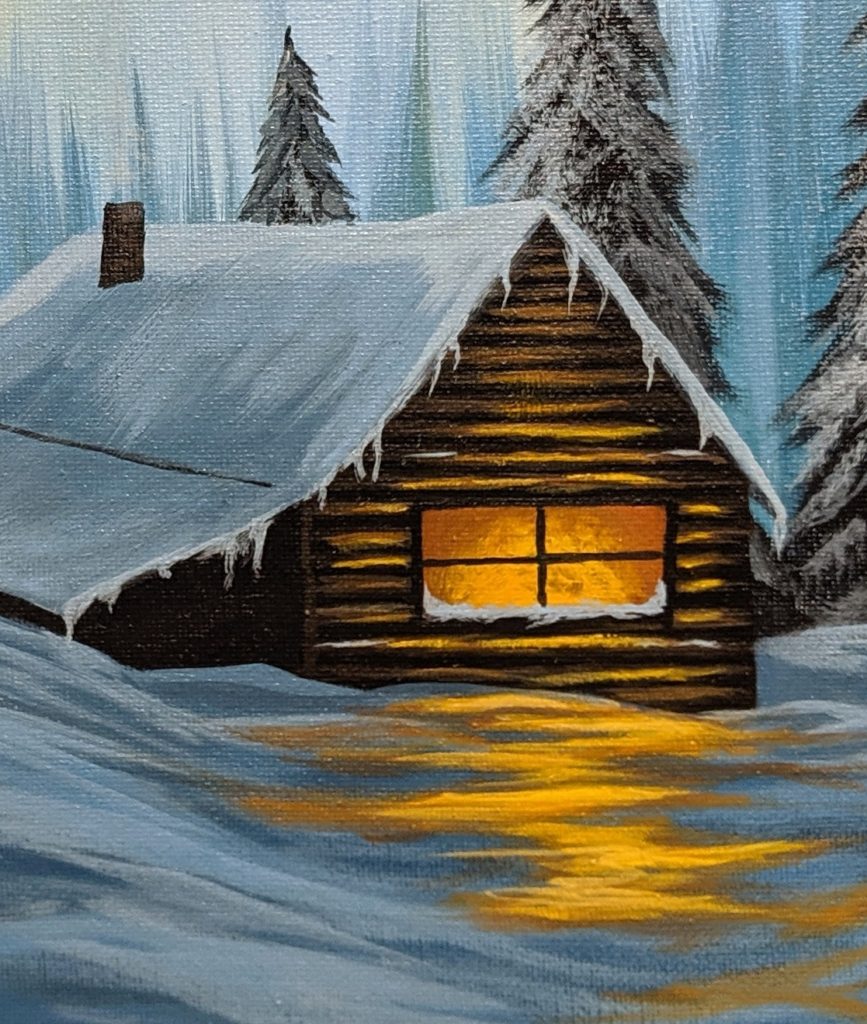
Oh yeah don’t forget the smoke coming out of the chimney. It’s just a light blue/gray.
Sign it!
